
When Microsoft announced the release of Windows 11 many got excited however most hardwares we’re not supported however powerful it may be. In this guide I will show you how to install Windows 11 on any hardware.
If you have a computer with unsupported hardware, you may still be able to upgrade to Windows 11, but not from Windows Update. Instead, you will have to use a bootable USB flash drive or ISO file to perform a clean install or in-place upgrade manually.
Microsoft will leave the workaround open, but it won’t mention it anywhere in the documentation, nor it will be supported. According to the company, the ability to install Windows 11 on unsupported hardware will be an option for organizations to test Windows 11. However, anyone could upgrade at their own risk knowing that there won’t be any guarantee on system stability and compatibility for drivers.
All of this only means that if you choose to install Windows 11 on incompatible hardware, you will be able to continue with the setup manually, but you will be informed that the upgrade will be in an unsupported state. Microsoft defines an “unsupported state” as a computer that does not meet the minimum system requirements, and as a result, it won’t be entitled to receive updates from Windows Update. Although it is likely that these devices will receive updates anyway, the company won’t be obligated to provide security and driver updates or technical support.
use these steps:
1. Start the unsupported PC with the Windows 11 USB flash drive.
2. Press any key to continue.
3. Use the Shift + F10 keyboard shortcut to open Command Prompt.
4. Type the following command and press Enter: regedit
Navigate the following path:HKEY_LOCAL_MACHINE\SYSTEM\Setup
Right-click the Setup (folder) key, select New, and then Key option.
Name the key LabConfig and press Enter.
Right-click the LabConfig (folder) key, select New, and then the DWORD (32-bit) Value option.
Name the key BypassTPMCheck and press Enter.
Double-click the newly create key and set its value from 0 to 1.
Click the OK button.
Right-click the LabConfig (folder) key, select New, and then the DWORD (32-bit) Value option.
Name the DWORD BypassSecureBootCheck and press Enter.
Double-click the newly create key and set its value from 0 to 1.
Click the OK button.
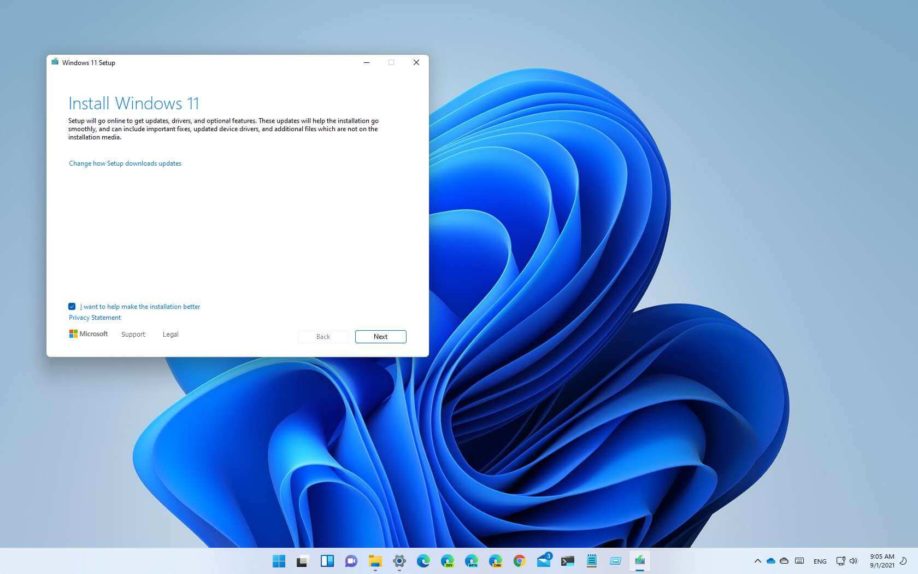
Click the Next button.
Click the Install now button.
Click the I don’t have a product key option if you are doing a reinstallation. If Windows 11 was already activated after the installation, reactivation would happen automatically.
Select the edition of “Windows 11” that your license key activates (if applicable).
Check the I accept the license terms option.
Click the Next button.
Select the Custom: Install Windows only (advanced) option.
Select each partition in the hard drive you want to install Windows 11 and click the Delete button. (Usually, the “Drive 0” is the drive that contains all the installation files.) Warning: When you delete a partition, it also deletes all data on the drive. Also, it is not required to delete the partitions from a secondary hard drive.
Select the hard drive (Drive 0 Unallocated Space) to install Windows 11 on an unsupported device.
- Click the Next button.
- Select your region setting after the installation on the first page of the out-of-the-box experience (OOBE).

- Click the Yes button.
- Select your keyboard layout setting.

- Click the Yes button.
- Click the Skip button if you do not need to configure a second layout.
- If the computer is using an Ethernet connection, it will connect to the network automatically. If you have a wireless connection, you will need to set up the connection manually (a security key may be required).
- (Optional) Confirm a name for the computer.
- Click the Next button. (The device will restart automatically.)
- Select the Set up for personal use option if you are setting Windows 11 Pro. The “Home” edition does not have this option.
- Click the Next button.
- Confirm your Microsoft account email, phone number, or Skype identification to create an account.
- Click the Next button.
- Confirm your Microsoft account password.
- Click the Next button.
- Click the Create PIN button.
- Create a new four-digit PIN.
- Click the OK button.
- Select the Set up as new device option. Or select to restore your settings from a previous installation.
- Click the Next button.
- Confirm your privacy settings that best suit your situation by turning on or off the toggle switch for each setting.
- Click the Next button.
- Click the Next button again.
- Click the Accept button.
- (Optional) On the “Customize your device” page, select one or more ways you plan to use the device to allow the setup to suggest tools and services customization during this experience.
- Click the Accept button to continue. Or click the Skip button to skip this part of the setup.
- Select the Back up my files with OneDrive to automatically upload your Desktop, Pictures, and Documents folders to the cloud. Or Select the Only save file to this PC option.
- Click the Next button.
- Click the No, thanks button to skip the Microsoft 365 setup.


Once you complete the steps, Windows 11 will install in an unsupported state, which means that you may or may not get security or driver updates.
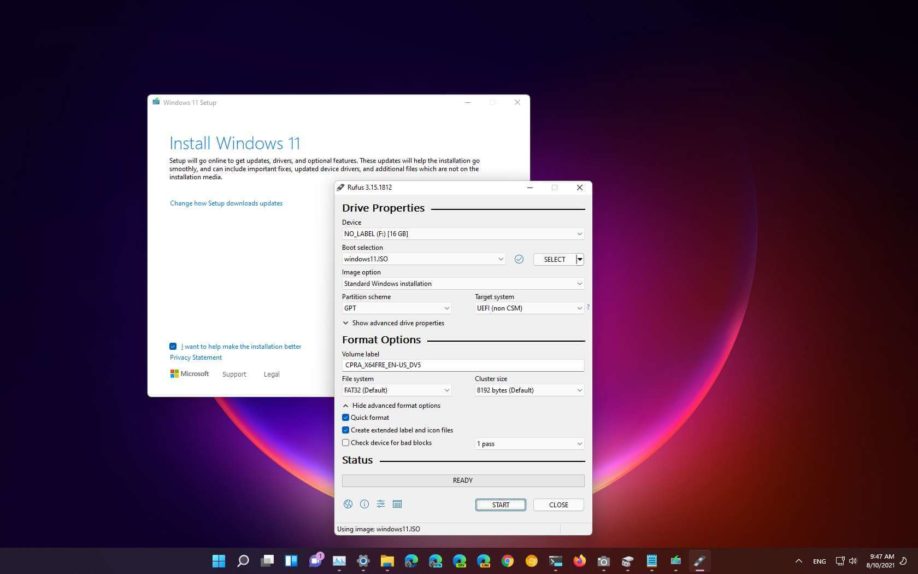
You can also create a bootable USB drive for windows 11
![]()


One thought on “How to install Windows 11 on any unsupported Computer”